


The most effective hip mobility exercise workflow follows a clear sequence: release tight tissue first, then activate and control movement through your full range. Skipping straight to stretching without releasing adhesions is one of the most common reasons people plateau. According to Sam Chan, CSCS, and Dr. John Rusin, DPT, neglecting hip mobility leads to excessive low back stress and chronic pain over time. The core steps are:
- Release: Use deep tissue tools to break up adhesions and reduce muscle tone
- Activate: Fire the glutes and hip stabilizers before loading the joint
- Stretch dynamically: Move through range with control, not passive holds
- Lock in gains: Apply PAILs and RAILs contractions at end range
- Repeat consistently: several sessions per week for lasting structural change
Avoid these common mistakes: skipping the release phase, relying only on static stretches, and training infrequently. The Thrival Adjustable Psoas Release Tool, with its interchangeable Wave, Bullseye, Arch, and Ballhead attachments, is built specifically for the release phase of this workflow.
Table of Contents
- Your complete hip mobility exercise workflow, step by step
- Mobility vs. flexibility: why the difference changes everything
- Why consistency and recovery tools determine your results
- Thrival’s recovery tools make your hip routine more effective
- Key Takeaways
Your complete hip mobility exercise workflow, step by step
A well-structured hip flexibility routine moves through three phases: release, stretch, and strengthen. Deep tissue release should always come first. Releasing tight tissue breaks adhesions and makes the joint capsule receptive to lengthening. Skipping this step makes stretching far less effective.
1. Tissue release (a few minutes)
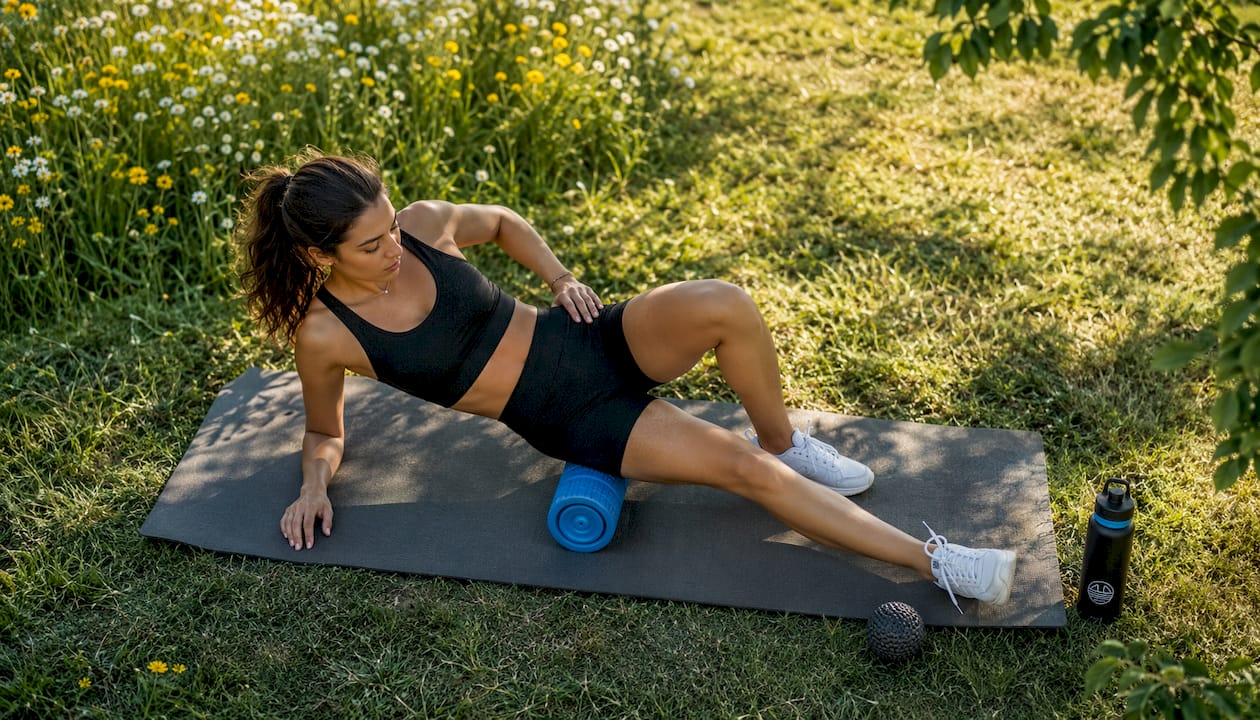
Use a massage ball, foam roller, or the Thrival system to target the hip flexors, glutes, TFL, and adductors. Spend a short time per side on each tight area. Breathe through the discomfort and wait for the tone to drop rather than just rolling fast.
2. Hip circles and controlled articular rotations (CARs)
Stand on one leg and draw the largest possible circle with your opposite knee. Move slowly through flexion, abduction, external rotation, extension, and internal rotation. Keep your torso completely still. Do several circles per direction per side. This wakes up the joint before loading it.
3. Walking lunges with hip flexor stretch
Step forward, lower your back knee toward the floor, and lean your torso slightly forward to stretch the trailing hip flexor. This is one of the best hip exercises for combining strength and mobility in a single movement. Do multiple reps per side.
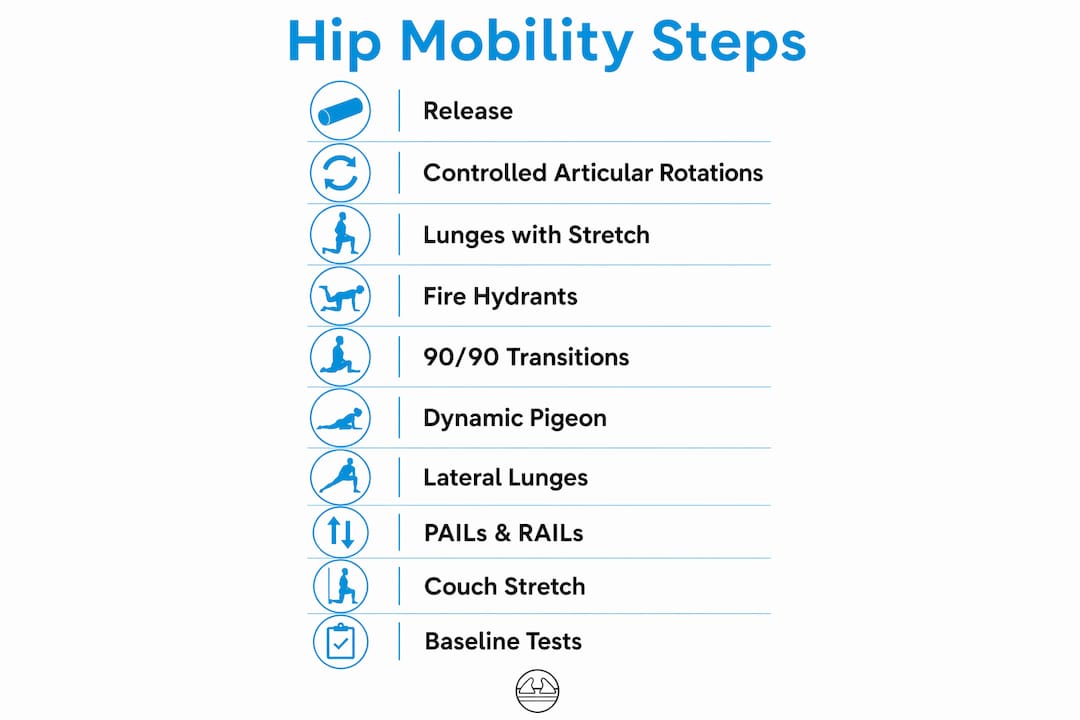
4. Fire hydrants
Start on hands and knees. Lift one leg out to the side with the knee bent at 90 degrees, hold briefly, then lower. Add a leg extension at the top to increase range demand. Do multiple reps per side. Fire hydrants target hip abduction and external rotation, two ranges most people neglect.
5. 90/90 transitions
Sit on the floor with one leg bent in front and the other behind, both at 90-degree angles. Rotate your hips to switch sides with control. This is the single best test and drill for hip rotation. Dynamic hip exercises like this prepare joints far better than static holds before activity.
6. Dynamic pigeon pose
From a lunge, lower your front shin to the floor and sink your hips. Rather than holding passively, rock gently in and out of the position for 10–15 reps before settling into a 60-second hold. This targets the external rotators and glutes simultaneously.
7. Lateral lunges
Step wide to one side, sink into the hip, and reach your arms forward for counterbalance. Push back to center and repeat. Do multiple reps per side. Lateral lunges address the adductors and hip abductors, which are often overlooked in standard hip mobility drills.
8. PAILs and RAILs at end range
At the end of any stretch (pigeon, couch stretch, 90/90), contract the muscles being stretched as hard as possible for 10 seconds (PAILs), relax, then contract the opposing muscles for 10 seconds (RAILs). Active integration after stretching prevents reversion to stiffness and builds functional control neurologically.
9. Couch stretch
Kneel with one shin vertical against a wall or couch, the opposite foot flat on the floor in front. Squeeze the rear glute and tuck your tailbone. Hold the stretch for a couple of minutes per side. This is the most direct stretch for hip flexors shortened by sitting.
10. Straight leg raise and 90/90 baseline tests
Before starting any new routine, assess your baseline. Lie on your back and raise one leg with the knee straight. Note the angle. Then sit in the 90/90 position and check whether you can maintain a neutral spine. These two tests reveal where your hip range of motion is most restricted and guide which drills to prioritize.
Pro Tip: If you feel sharp anterior hip pain during deep squats, the issue is often a joint capsule restriction, not muscle tightness. Aggressive stretching can worsen it. Use posterior femoral head traction techniques with a resistance band instead.
Mobility vs. flexibility: why the difference changes everything
Most people use these terms interchangeably, and that confusion is exactly why so many hip programs fail. Flexibility is passive range of motion. Mobility is active control of a joint within that range. You can be flexible and still have terrible hip mobility if your nervous system cannot produce force at end range.
The hips are ball-and-socket joints designed for multi-directional movement. When active control is missing, the lumbar spine compensates, which is a primary driver of low back pain and hip dysfunction. Dr. John Rusin, DPT, consistently emphasizes that dynamic hip work in warm-ups functions as injury insurance for the lumbar spine.
Key distinctions that matter clinically:
- Flexibility = how far a muscle can lengthen passively
- Mobility = how far you can actively move and control a joint
- Neuromuscular control = the missing piece most stretching programs skip
- Functional mobility = strength and stability throughout the full range, not just at midrange
Understanding muscle mobility from a clinical perspective reframes the entire approach. The goal is not to touch your toes. The goal is to own every degree of hip range you access.
Why consistency and recovery tools determine your results
A 10-minute daily routine practiced 3–5 times per week produces significantly better results than sporadic longer sessions. Structural tissue changes require repeated stimulus over months, not a single deep stretch session. There is no shortcut here.
Recovery tools accelerate this process by preparing tissue for movement. The Thrival Adjustable Psoas Release Tool is a non-motorized base board with four interchangeable attachments, each designed to target specific muscle groups around the hip.
| Attachment | Target Area | Best Used For |
|---|---|---|
| Thrival Wave | Hip flexors, thoracic spine | Broad myofascial release along muscle bellies |
| Thrival Bullseye | Glutes, piriformis | Concentrated trigger point work |
| Thrival Arch | Lumbar and sacral region | Spinal decompression and low back release |
| Thrival Ballhead | Deep hip rotators, psoas | Precision point release on tight spots |
Integrating bodywork with structured mobility training is a practice supported across rehabilitation and therapy settings. The Thrival system is FDA-registered, manufactured in the United States, and backed by a lifetime warranty.
Pro Tip: Use the Thrival Bullseye attachment on the piriformis for 90 seconds per side immediately before your 90/90 transitions. The targeted release makes the rotational drill significantly more productive.
Benefits of integrating Thrival tools into your hip flexibility routine:
- Reduces muscle tone before stretching so tissue responds better
- Targets the psoas and deep hip rotators that foam rollers cannot reach effectively
- Portable and app-guided for use at home, in the gym, or while traveling
- Supports athletes seeking peak performance and individuals managing chronic hip stiffness
Thrival’s recovery tools make your hip routine more effective
Thrival builds professional-grade muscle recovery tools for people who take hip health seriously. The Adjustable Psoas Release Tool with its four attachments replaces a drawer full of foam rollers and massage balls with one targeted system.
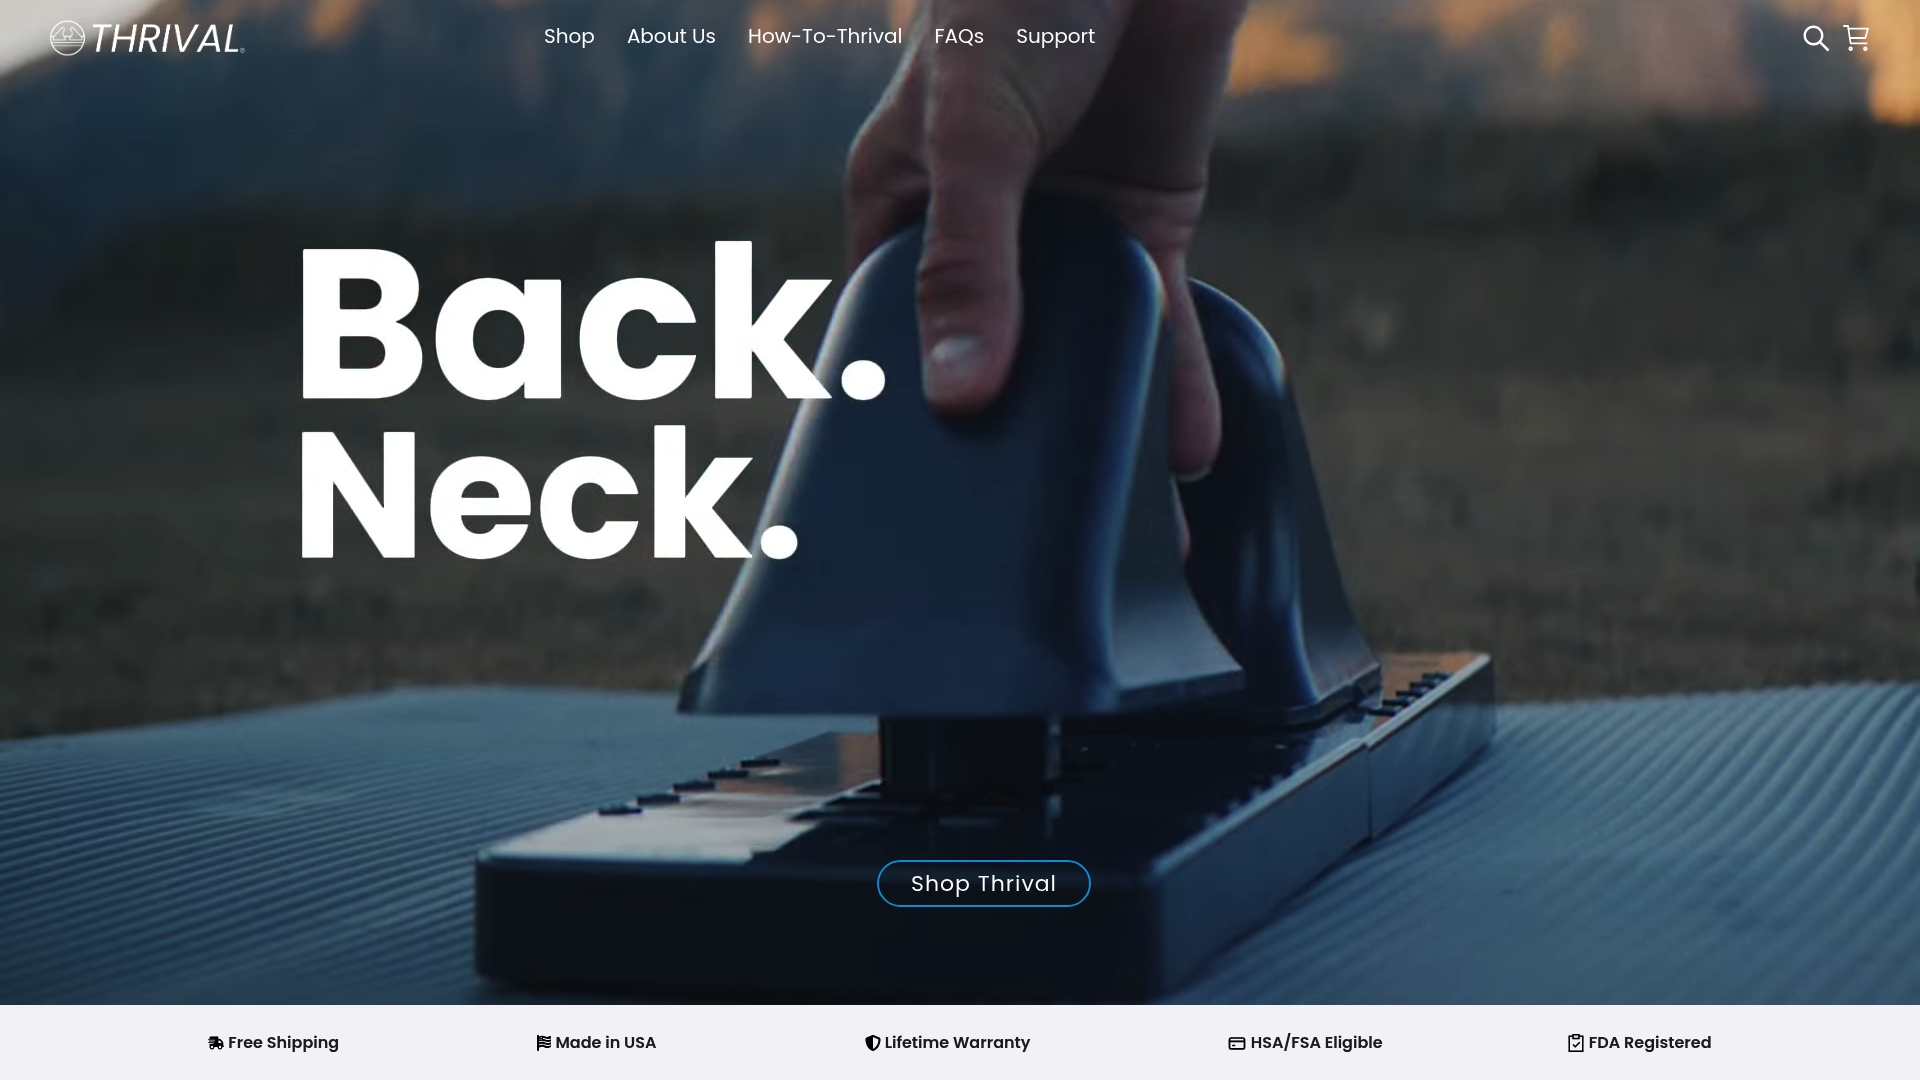
The Wave attachment covers broad myofascial release. The Bullseye replicates the classic lacrosse ball effect with more precision. The Arch supports lumbar and sacral decompression. The Ballhead reaches the deep hip rotators and psoas that standard tools miss entirely. Every attachment clicks into the same base board, making the system fast to set up and easy to use between sets or after a session.
Thrival ships free within the United States, offers a lifetime warranty on every product, and is FDA-registered for safety and quality assurance. Professional athletes and everyday users alike rely on it to support their hip pain relief and mobility work. Visit thrival.com to find your complete recovery setup and start the release phase your hip routine has been missing.
Key Takeaways
A structured hip mobility exercise workflow combining tissue release, dynamic control drills, and consistent practice 3–5 times per week produces lasting improvements in hip function and pain reduction.
| Point | Details |
|---|---|
| Release before stretching | Deep tissue release breaks adhesions and makes the joint receptive to lengthening. |
| Active control over passive holds | PAILs and RAILs lock in new ranges neurologically; static stretching alone reverts. |
| Consistency beats intensity | A 10-minute daily routine practiced 3–5 times per week outperforms sporadic long sessions. |
| Assess your baseline first | The Straight Leg Raise and 90/90 tests reveal which hip ranges need the most work. |
| Thrival tools target the release phase | The Adjustable Psoas Release Tool with Wave, Bullseye, Arch, and Ballhead attachments reaches deep hip tissue standard tools miss. |