


A pain relief checklist is a systematic set of steps designed to help you manage muscle pain and tension through structured tracking, targeted therapy, and consistent self-care. The most effective approach combines symptom monitoring, cold and heat therapy, medication timing, and paced activity into one repeatable system. Clinical guidelines support structured symptom tracking as a core tool for improving treatment outcomes. Techniques like 0–10 pain scoring, pacing, and trigger documentation give you real data to work with. Thrival’s muscle recovery tools fit directly into this kind of structured plan, adding targeted deep tissue relief where self-care alone falls short.
1. How to use a pain relief checklist to track your symptoms
Tracking pain without structure produces noise, not insight. The standard clinical method is logging a 0–10 pain severity score twice daily, once in the morning and once in the evening. Structured tracking tools improve treatment adherence by up to 64%. That number reflects a simple truth: when you record pain consistently, you follow through on treatment more consistently.
Beyond the score itself, document what triggered each pain episode. Note the specific activity, time of day, posture, or emotional state that preceded a flare. Clinicians prioritize pattern documentation over singular pain scores because patterns reveal the actual cause, not just the symptom. A single score of 7 tells a doctor very little. A pattern showing that your pain spikes every afternoon after sitting for two hours tells them a great deal.
- Log pain severity (0–10) twice daily, morning and evening
- Record specific triggers: activity type, duration, posture, stress level
- Note what reduced the pain and how long relief lasted
- Track functional limitations: what you could not do because of pain
- Use a digital app or a simple notebook, whichever you will actually use consistently
Pro Tip: Organize your pain notes under four categories: severity, trigger, relief method, and functional impact. This format takes under two minutes per entry and gives your doctor exactly what they need.
2. Self-care strategies for muscle tension and acute flare-ups

The first 48–72 hours of an acute flare-up require cold therapy, not heat. Cold applied for 10–15 minutes per session reduces inflammation and numbs sharp pain signals. After that initial window, heat therapy promotes blood flow to the area and helps muscles relax. Heat sessions of 15–20 minutes work best once the acute inflammation has settled.
Bed rest is not a treatment. Avoiding all movement during a flare slows recovery and weakens the muscles that support the injured area. Controlled movement, even gentle walking or slow stretching, keeps circulation active and prevents stiffness from compounding the original problem. The goal is movement within your current pain tolerance, not pushing through sharp pain.
- Apply cold (ice pack wrapped in cloth) for 10–15 minutes during the first 48–72 hours
- Switch to heat (heating pad or warm towel) for 15–20 minutes after inflammation settles
- Avoid complete bed rest; keep moving gently throughout the day
- Perform slow, controlled stretches targeting the affected muscle group
- Walk for 5–10 minutes every hour if your pain level allows
- Use a self-care exercise guide to choose movements appropriate for your specific area of pain
Pro Tip: Listen to your body’s response to movement, not just your pain score. If pain decreases or stays the same during gentle activity, continue. If it spikes sharply, stop and rest before trying again.
3. Selecting and timing over-the-counter pain medications
OTC medication works best when you treat it as a scheduled tool, not a last resort. NSAIDs like ibuprofen begin working within 30 minutes and peak at 1–2 hours. Naproxen takes slightly longer to start but provides 8–12 hours of relief, which reduces how often you need to dose. Choosing between them depends on whether you need fast relief or sustained coverage through a long day.
Timing your medication around planned activity produces better functional results than taking it reactively after pain spikes. Combining medication timing with activity planning maximizes pain relief and supports your ability to engage safely in exercise and daily tasks. For example, taking ibuprofen 30 minutes before a physical therapy session or a planned walk gives the medication time to reach peak effect when you need it most.
- Ibuprofen: Onset 30 minutes, peak 1–2 hours, duration 4–6 hours. Best for fast, short-term relief
- Naproxen: Onset 30–60 minutes, duration 8–12 hours. Best for sustained coverage with fewer doses
- Always take NSAIDs with food to reduce stomach irritation
- Do not exceed the recommended daily dose listed on the packaging
- Avoid combining two NSAIDs simultaneously without medical guidance
- Reassess medication use if pain persists beyond two weeks without improvement
4. Pacing and activity management on your checklist
Pacing is not the same as resting when pain gets bad. It is a proactive system where you set activity limits before pain forces you to stop. Pacing prevents boom-and-bust cycles where you overdo it on good days and crash on bad ones. That cycle is one of the most common reasons chronic pain recovery stalls.
The practical version of pacing looks like this: decide in advance how long you will walk, sit, or stand, then stop at that limit regardless of how you feel. If you can walk for 10 minutes without pain, set your limit at 8 minutes. Over time, you raise the limit gradually as your tolerance builds. Moderate, consistent activity outperforms intermittent overexertion followed by forced rest every time.
- Set time-based activity limits before you start, not after pain appears
- Choose low-impact activities: walking, swimming, or stationary cycling
- Increase duration by no more than 10% per week to avoid triggering flares
- Schedule rest breaks as part of the plan, not as a reaction to pain
- Track activity duration alongside pain scores to identify your personal tolerance threshold
The psychological benefit of pacing is real. When you control your activity rather than letting pain control it, your confidence in your own body rebuilds steadily. That shift in mindset is a documented part of long-term pain recovery.
5. Preparing for medical consultations with your pain documentation
A well-organized pain record turns a 15-minute doctor’s visit into a productive clinical conversation. Structured documentation leads to better personalized treatment plans because it gives the clinician a clear picture of your history without relying on your memory under pressure. Most people walk into appointments and describe how they feel today. Bringing a written summary of the past two to four weeks is far more useful.
Clinicians need four things: your symptom timeline, your pain patterns, what you have already tried, and your functional limitations. Organizing your notes under those four categories before each visit removes ambiguity and speeds up diagnosis. Concise, structured preparation before appointments greatly improves treatment success and personalization.
- Symptoms: Describe location, quality (sharp, dull, burning), and severity range over the past month
- Timeline: Note when pain started, any events that preceded it, and how it has changed
- What I’ve tried: List medications, doses, therapies, and their results with approximate dates
- Top questions: Write down your three most pressing questions before the appointment
- Bring a current medication list, including supplements and OTC drugs
- Note any red-flag symptoms: numbness, weakness, bladder or bowel changes, or unexplained weight loss
Pro Tip: Print your pain log and highlight the three worst days and the three best days. That contrast gives your doctor a clearer picture of your range than any single score.
Key takeaways
A pain relief checklist works because it replaces guesswork with consistent tracking, targeted therapy, timed medication, and paced activity that builds real recovery over time.
| Point | Details |
|---|---|
| Track pain twice daily | Log 0–10 scores, triggers, and functional limits to reveal patterns that guide treatment. |
| Use cold then heat | Apply cold for the first 48–72 hours, then switch to heat for 15–20 minute sessions. |
| Time your medication | Take NSAIDs 30 minutes before planned activity to align peak effect with physical demand. |
| Pace before pain forces you to stop | Set activity limits in advance and increase duration gradually to avoid boom-and-bust cycles. |
| Organize your doctor visit notes | Use four headings: Symptoms, Timeline, What I’ve Tried, and Top Questions for every appointment. |
Why a checklist changes how you manage muscle pain
Most people treat pain reactively. Something hurts, they rest, take a pill, and hope it passes. I have seen that approach fail repeatedly, not because the individual remedies are wrong, but because there is no system connecting them.
What a structured checklist does is shift you from reactive to deliberate. When you track your pain daily, you stop being surprised by flare-ups. You start seeing that your back tightens every time you sit for more than 45 minutes, or that your neck pain is always worse on days you skip your morning stretch. That kind of pattern recognition is what separates people who manage pain well from those who feel controlled by it.
The combination of self-care, medication timing, and pacing is not complicated. But it requires consistency, and consistency requires a system. A checklist is that system. Personalize it to your specific muscle groups, your schedule, and your pain triggers. The structure matters more than the specific format you choose.
— Cameron
Thrival’s muscle recovery tools for your pain relief plan
A checklist gives you the strategy. The right tools give you the physical relief to follow through on it.
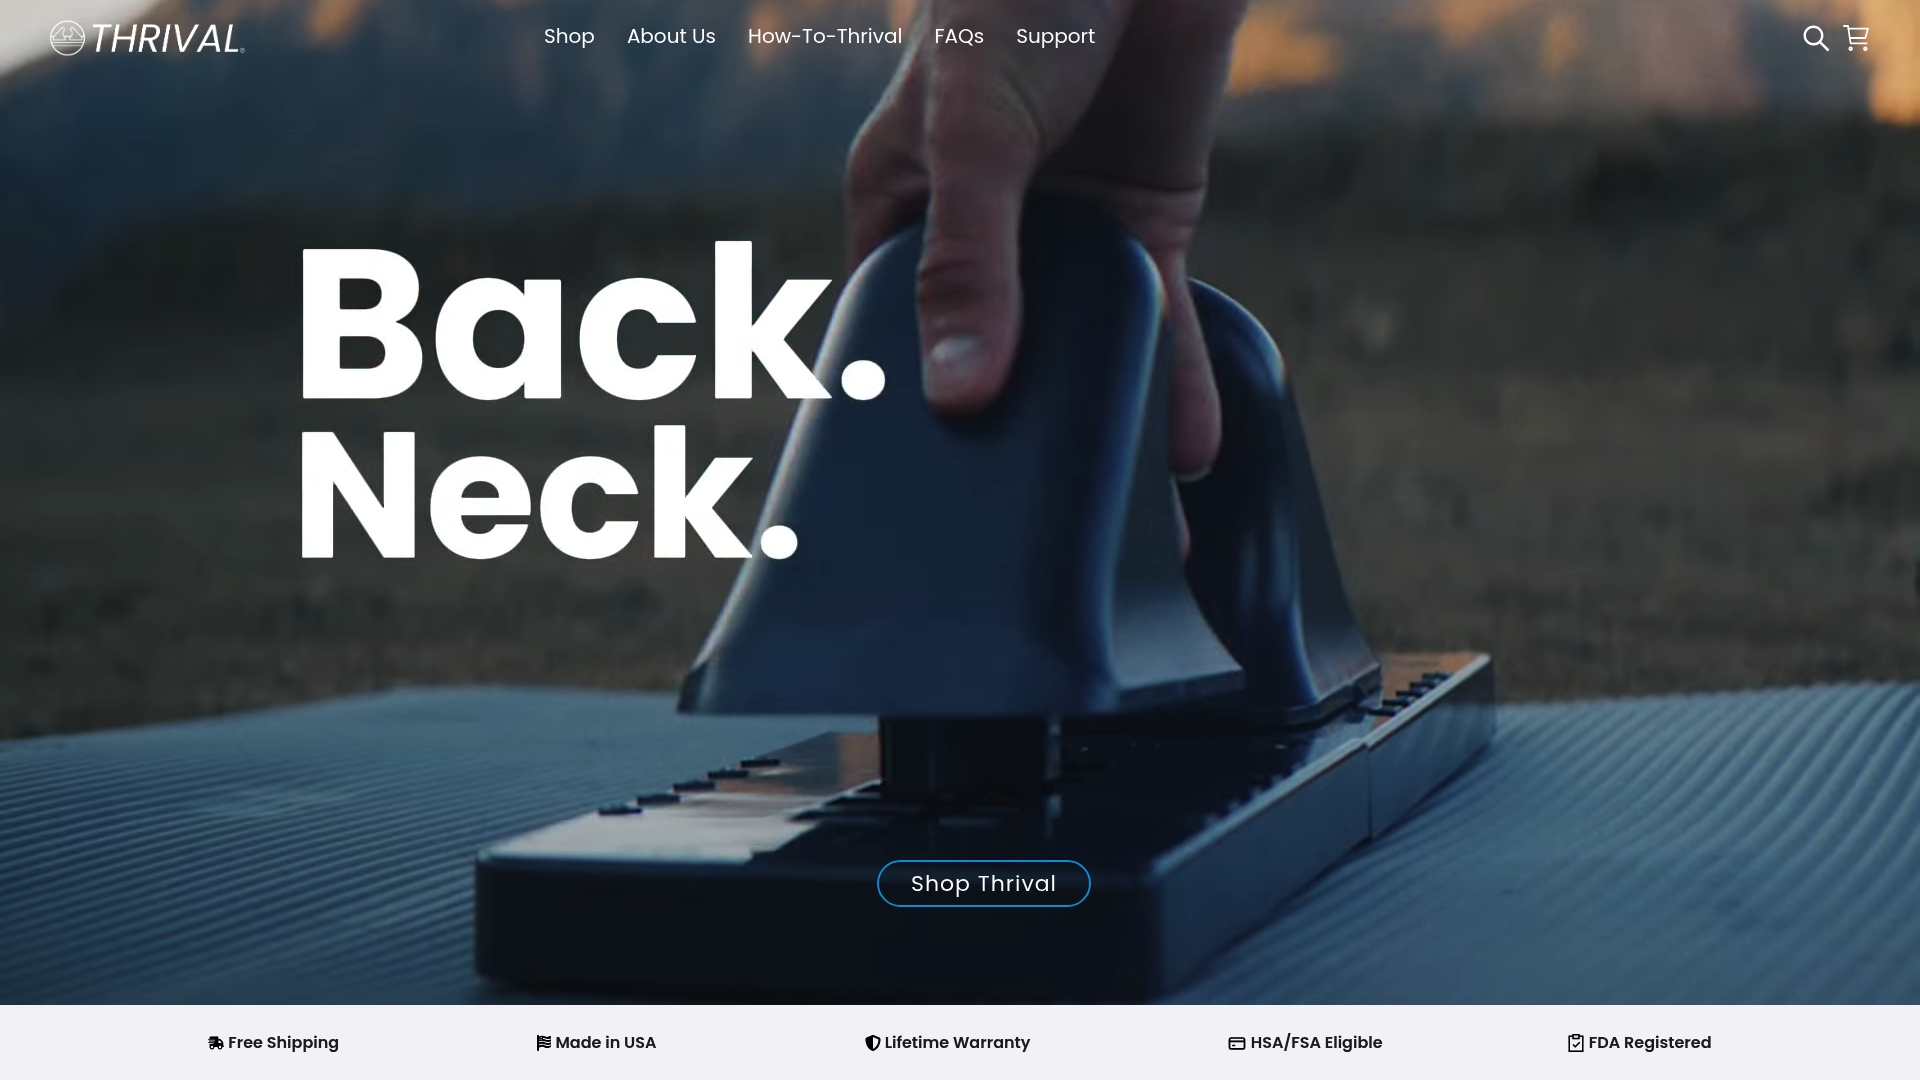
Thrival’s muscle recovery system is built around a single non-motorized base board that accepts four targeted attachments: the Thrival Wave, Bullseye, Arch, and Ballhead. Each attachment targets a specific muscle area, including the back, hips, neck, and shoulders, for deep tissue release and spinal decompression. The system is FDA-registered, manufactured in the US, and backed by a lifetime warranty. Pair it with the instructional video library to build a structured recovery routine that complements every item on your pain management checklist.
FAQ
What is a pain relief checklist?
A pain relief checklist is a structured set of steps for managing muscle pain through daily symptom tracking, targeted self-care, medication timing, and paced activity. It replaces reactive pain management with a consistent, repeatable system.
How often should I log my pain scores?
Log pain severity on a 0–10 scale twice daily, once in the morning and once in the evening. Structured tracking improves treatment adherence by up to 64% compared to informal monitoring.
When should I use cold versus heat therapy for back pain?
Use cold therapy for the first 48–72 hours of an acute flare to reduce inflammation, then switch to heat to promote blood flow. Cold sessions run 10–15 minutes; heat sessions run 15–20 minutes.
What is pacing and why does it matter for chronic pain?
Pacing means setting activity limits before pain forces you to stop, preventing the boom-and-bust cycle that stalls chronic pain recovery. Moderate, consistent activity outperforms alternating overexertion and forced rest.
How do I prepare my pain records for a doctor’s visit?
Organize your notes under four headings: Symptoms, Timeline, What I’ve Tried, and Top Questions. Concise, structured documentation leads to better personalized treatment plans and more productive clinical visits.